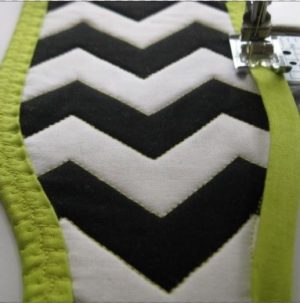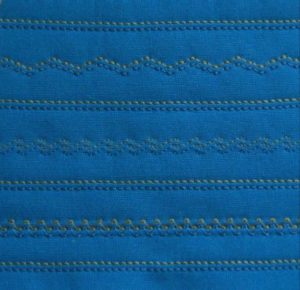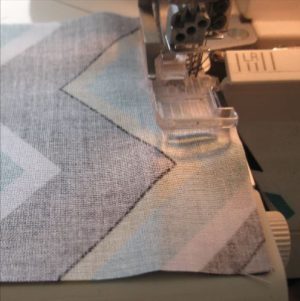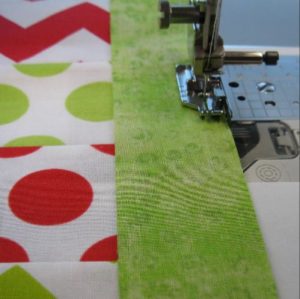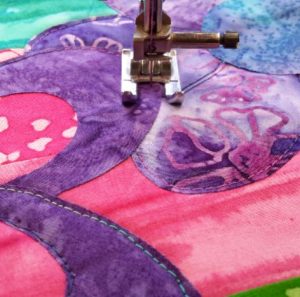
Applique is adding pictures or designs on your project by means of cutting out shapes in fabric, sticking them to the project and sewing around them. You can cut shapes out of different coloured fabrics to form a picture, writing or simply create abstract designs. There are various products on the market used to stick down the fabric. Vlisofix or Heat’n’Bond are the most commonly known. The products have a paper backing with a film over the top that melts and sticks to the fabric when pressed with an iron. You then peel back the paper and press the shape onto the project. The style of stitching and threads used around the shapes can also vary, depending on the overall look you are trying to achieve.
Tools to help you:
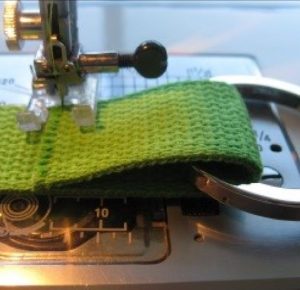
- open toe foot for your sewing machine
- small, sharp pointed scissors
Click HERE for Heidi Ho patterns that teach you applique
Technique Tip! Sew slowly and steady, a good even pace will give you a smoother line around the shapes.